Experts are your ticket to a smoother ride through Star Wars Outlaws. Experts teach you abilities, allowing you to learn everything from blaster and health upgrades to perks for Nix, the best Star Wars creature this side of Naboo. Each expert can teach you up to six abilities, but finding them is an involved process.
Our in-progress Star Wars Outlaws guide lists all of the experts we’ve found so far, what abilities they can teach you, and what you need to do to unlock those abilities.
How to find experts in Star Wars Outlaws

Image: Massive Entertainment/Ubisoft via Polygon
In all cases but one, you’ll get a lead on a nearby expert that Outlaws files under “Expert Intel” in your journal. These might appear naturally, such as when Danka helps you get started, or you might get a brief notification from ND-5 after completing a story mission. If these leads don’t pop, try leaving a planet and returning, which in our experience can sometimes get ND-5 to start talking again.
The initial lead introduces you to the expert in question, and then they’ll always have a quest for you. Complete that quest to unlock an initial ability and see the requirements for the rest. Meeting experts is essentially the skill tree system for Star Wars Outlaws.
These requirements might range from performing certain actions in combat to finding materials in the open world, but you can get hints and track progression in the skills menu to make keeping up with it all a bit easier.
Also note that you can only make progress toward a particular ability after you’ve seen the requirements; for instance, if you need to pick three locks to unlock one of Aila’s abilities, any locks you’ve picked before meeting Aila won’t count toward your tally. Once you’ve completed all of the prerequisites for an ability, you can unlock that ability directly from your menu, without any need to double back and visit the expert it’s associated with.
Bram the Bartender abilities
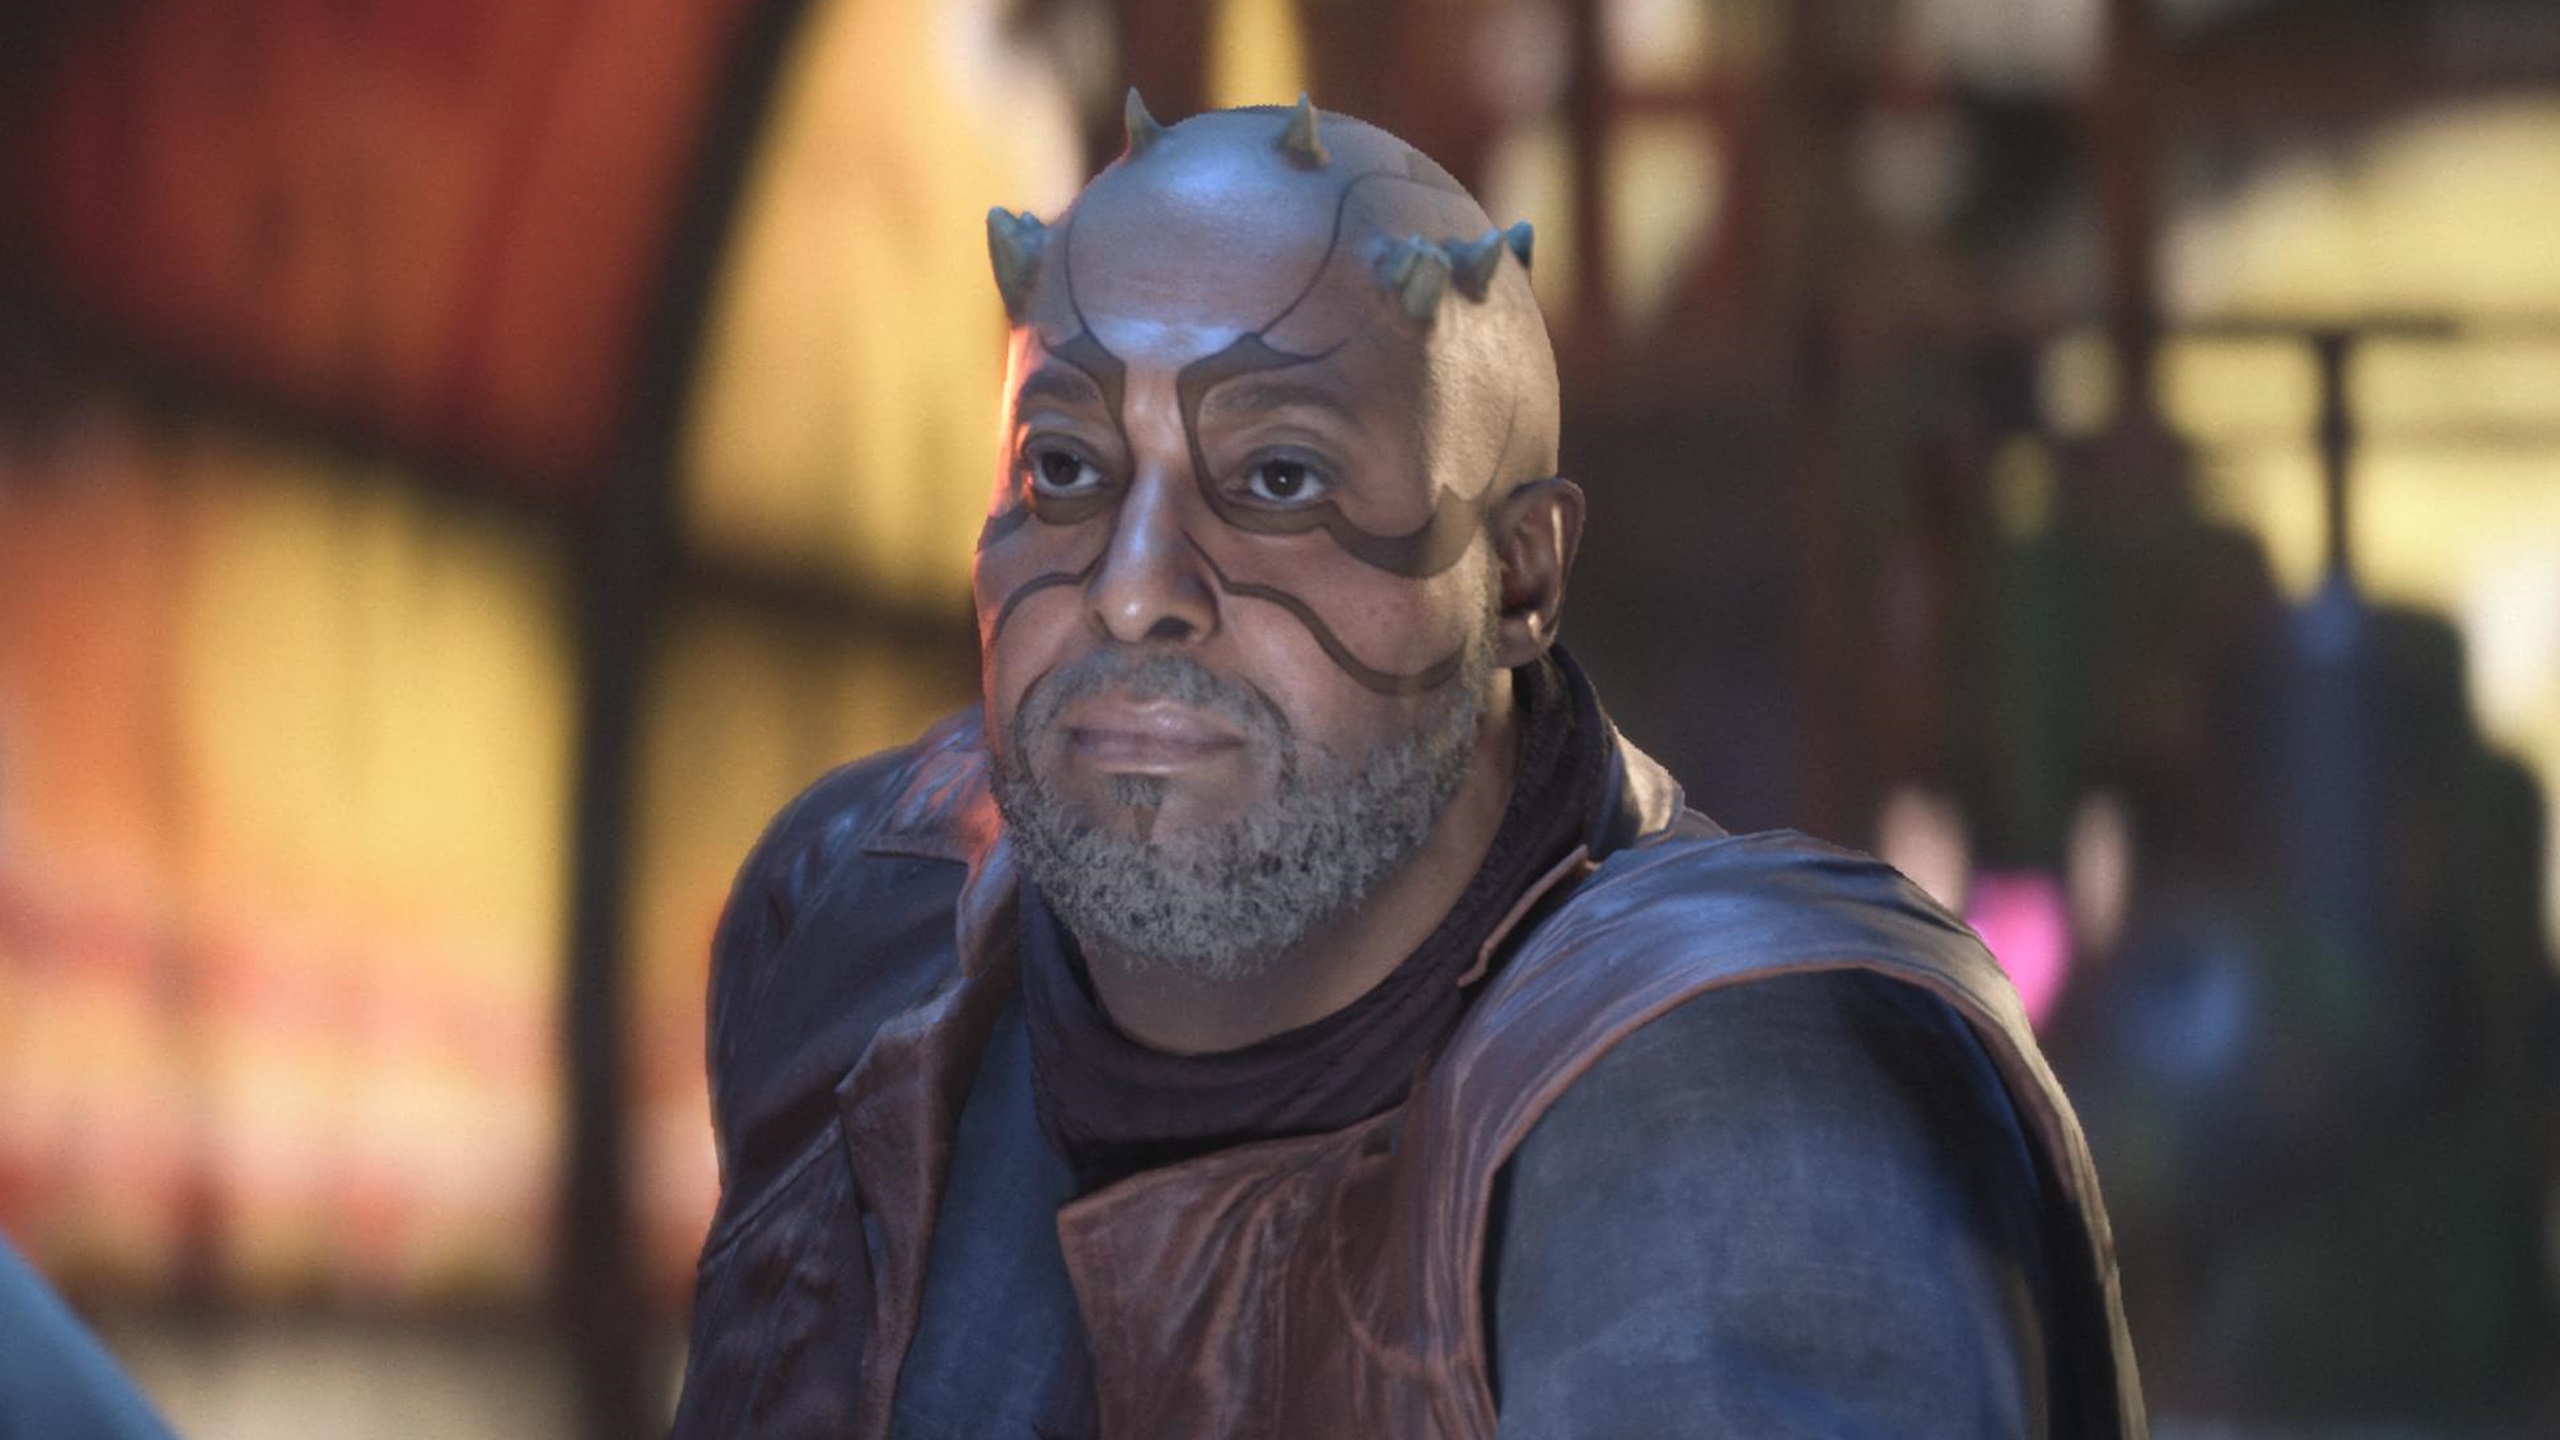
Image: Massive Entertainment/Ubisoft via Polygon
Bram unlocks automatically at the start of the game, and you get two free abilities. You have to work for the other four, though.
Bram abilities list
Bram’s abilities are foundational, mostly to do with unlocking and improving basic combat and puzzle mechanics.
Ability |
Description |
How to unlock |
|---|---|---|
| Cantina Brawling | You can use melee attacks against enemies | Unlocked by default |
| Lockpicking | You can use the Data Spike to override locks on doors and containers | Unlocked by default |
| Fast talk | You can distract an enemy for a few seconds after youâre discovered | Stealth takedown three enemies and defeat five enemies with melee attacks |
| Keep Talking | You can distract multiple enemies after youâre discovered | Unlock Fast Talk and defeat six enemies distracted by Fast Talk |
| Armored Undershirt | Your health increases by one additional bar | Collect eight courseweave and one ironweave |
| I Know Someone | You can receive personal trade requests from certain merchants | Spend 1,000 credits and meet six different merchants |
Selo the Mechanic quest and abilities
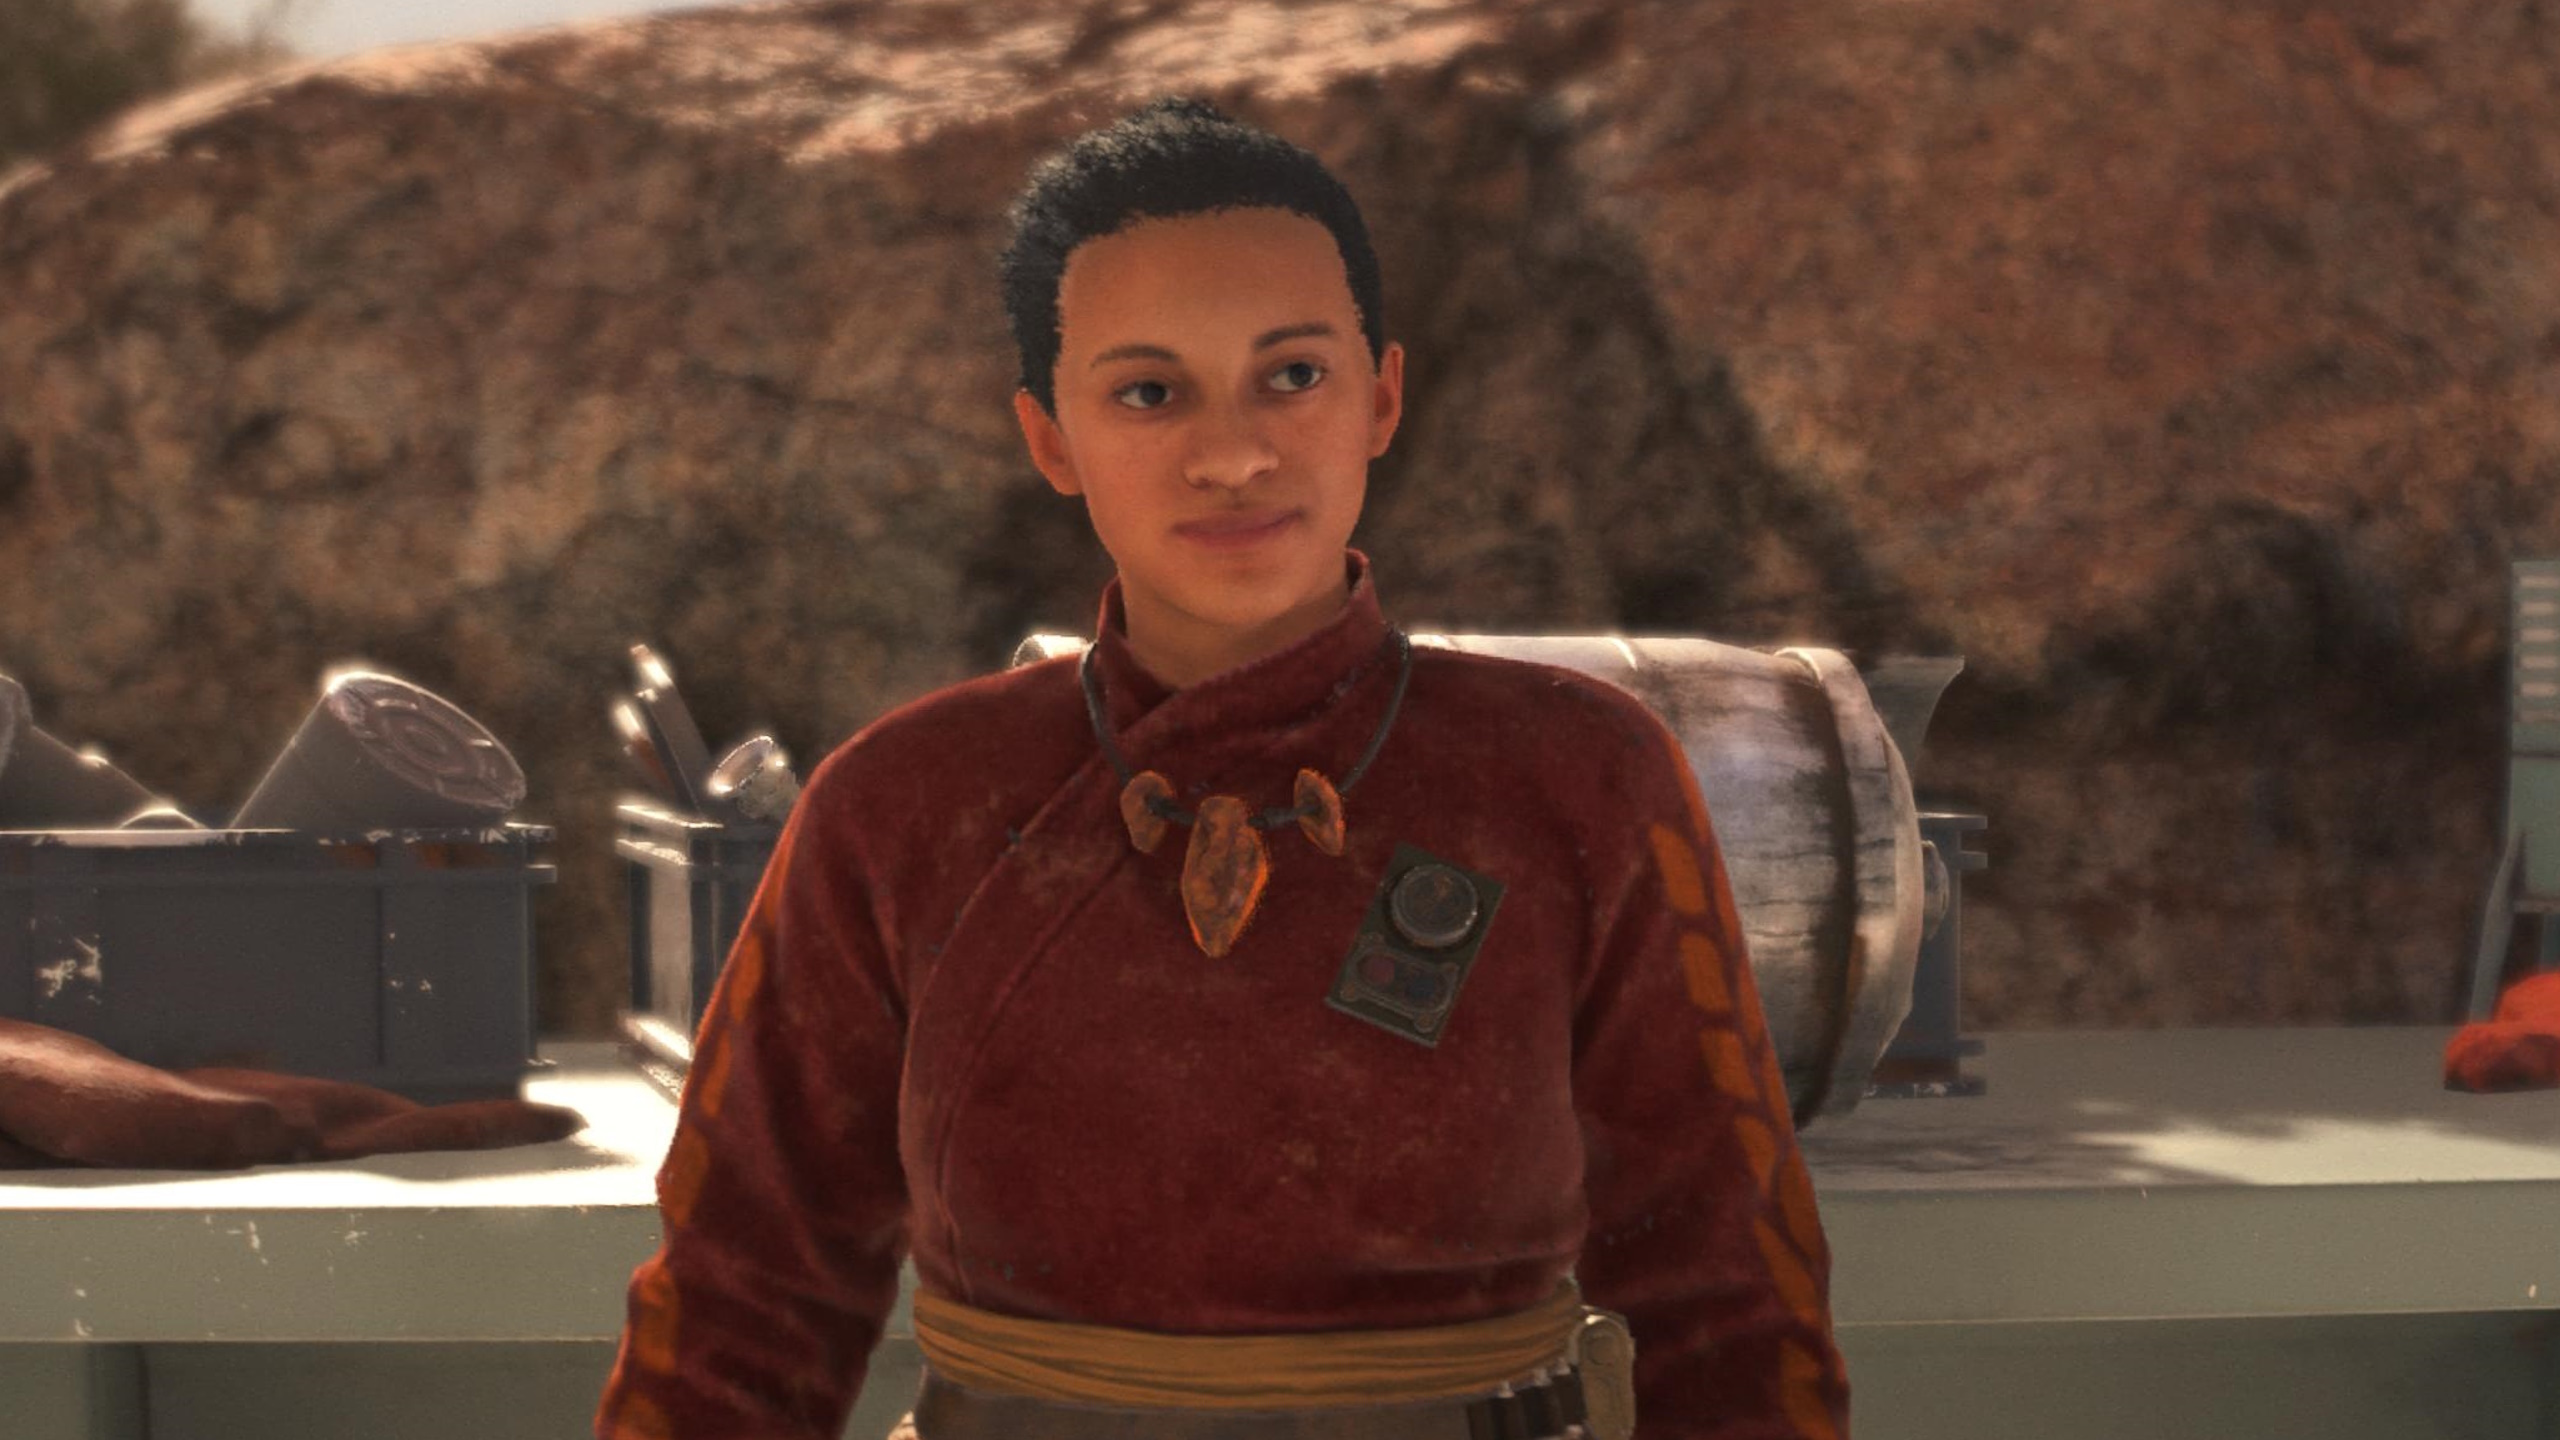
Image: Massive Entertainment/Ubisoft via Polygon
Selo is probably the first expert you’ll unlock, assuming you follow Danka’s advice and sniff out leads on expert intel. After completing the “New Tricks” main quest, Danka gives you a hint about an ace mechanic on Toshara. Head to Jaunta’s Hope, and pick up the “Expert Mechanic” intel from the bartender in Daruda Diner. Follow that to Kadua, then to a cliff near Jaunta’s Hope, and you’ll meet Selo. She has a job for you.
Selo’s quest details
Selo wants you to retrieve a speeder part for her, and that means infiltrating a nearby Imperial compound where said part currently resides. Follow the quest marker to the compound, use Selo’s disruptors, and head inside. You’ll need to complete a series of platforming challenges involving giant fans and moving walls, but since there’s only one path forward, you don’t have to worry about getting lost. Head back to Selo once you have the part to unlock her first ability.
Selo abilities and unlock requirements
Selo’s skills are a mix of speeder-specific abilities and some highly useful scoundrel tricks, including one of the best skills in the game: Smoke Bomb.
Ability |
Description |
How to unlock |
|---|---|---|
| Speed Boost | You can boost while riding the speeder | Unlocked by default |
| Speeder Jump | You can bunny hop with your speeder | Complete a 60-meter long jump without crashing |
| Treasure Hunter | Nix can highlight nearby containers | Open 10 different containers, command Nix to fetch an item, and find four different ways to make Nix happy |
| Smoke Bomb | You can use smoke bombs that confuses enemies and block their lines of sight | Collect three MG2 power exceeder, seven polycarbonate, and one smoke bomb processor |
| Scoundrelâs Pouch | You can carry one additional bacta vial and one additional grenade | Collect eight courseweave, four Robuma leather, and one durafiber fabric |
| Outlawâs Pouch | You can carry one additional bacta vial and one additional grenade | Unlock Scoundrelâs Pouch, then collect 18 courseweave, 10 polycarbonate, and 1 elastic durafiber |
Aila the Slicer quest and abilities
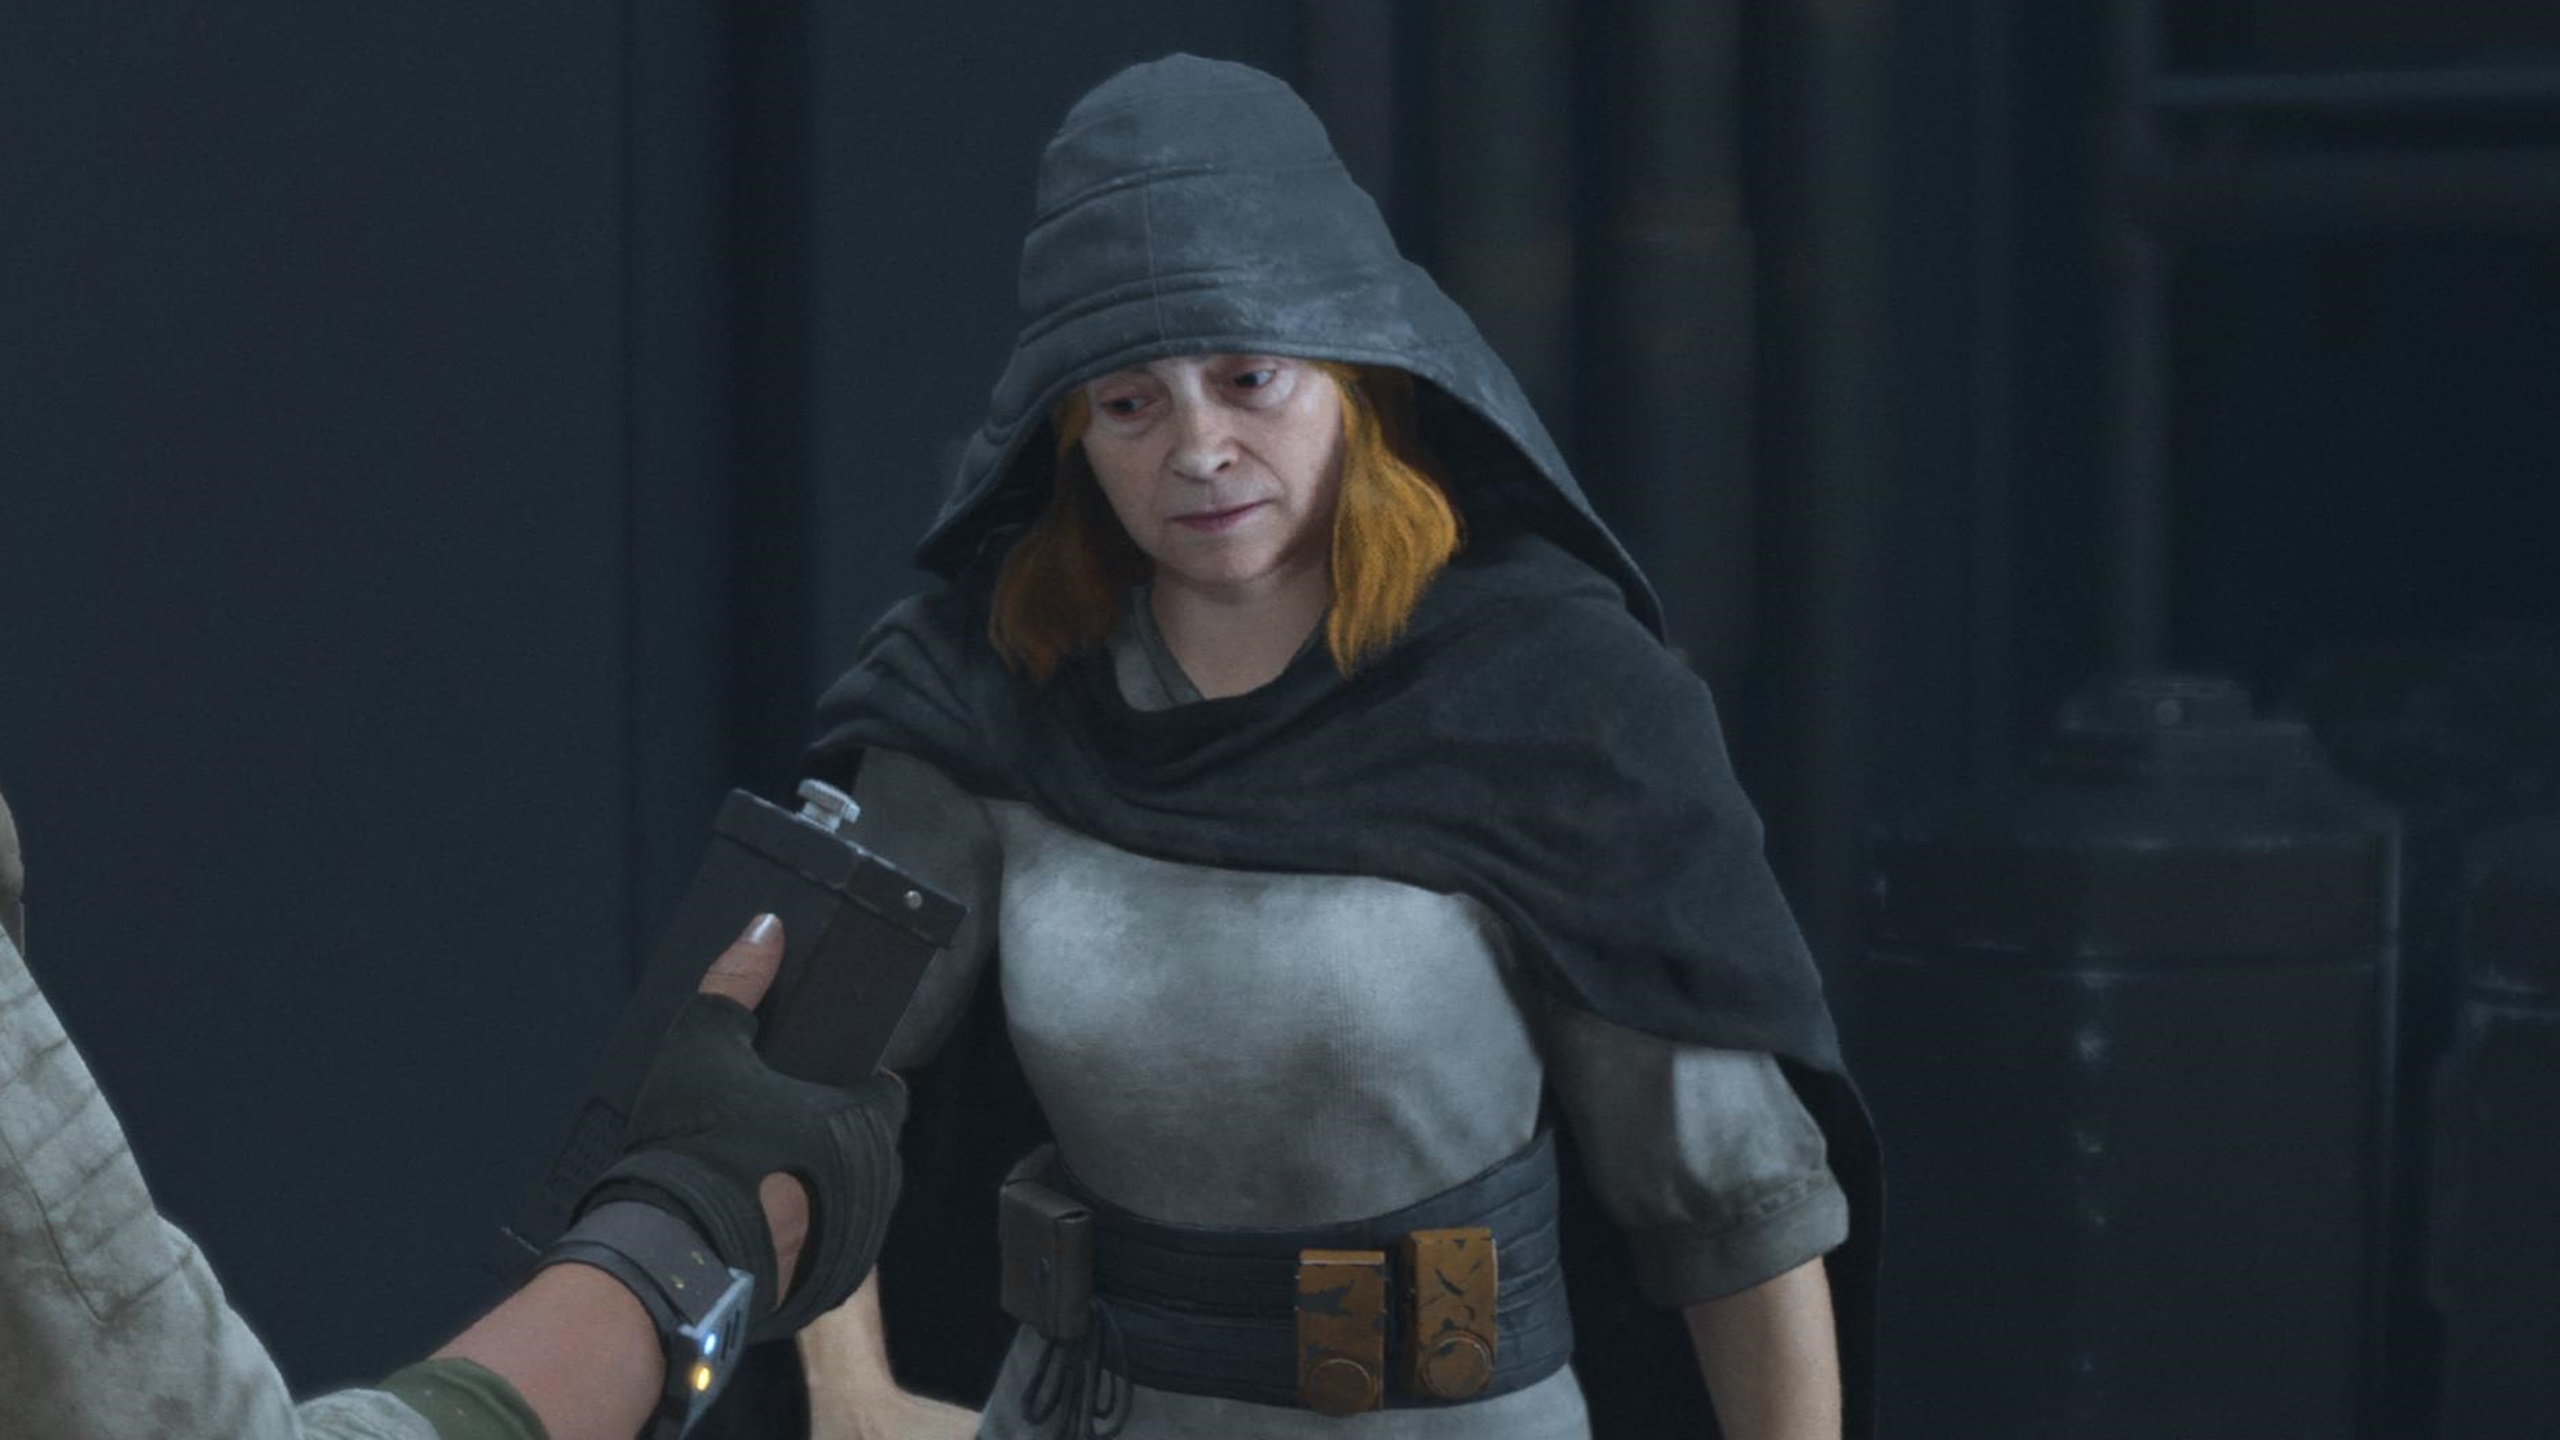
Image: Massive Entertainment/Ubisoft via Polygon
Aila calls Toshara home, at least for one mission, and her intel chain unlocks alongside Selo’s after you complete “New Tricks” mission. The “Expert Slicer” intel takes you back to Mirogana’s canteen-slash-gambling-hall, where you learn your next step is at the Crimson Dawn landing pad. You can waltz right up there if your syndicate reputation is excellent. If it’s good, you can approach the landing pad, sneak around to the right, and clamber up the side to find your contact.
If it’s poor or worse, you’ll have to sneak into the district from the marketplace, then stealth your way to the landing pad.
Aila’s quest details
Aila’s in a bit of a jam, and you’re the only one who can help — if you want her help, at least. Follow the quest marker to the Imperial compound where Aila is stranded, and quietly make your way to her location. You can go in with blaster blazing, but with so many soldiers and a good deal of high-powered weaponry nearby, things quickly get out of hand here. A cautious approach is much easier. Aila leaves you to slice the compound’s turrets and extract some data, and then it’s time to leave.
Aila abilities and unlock requirements
Aila’s skills have surprisingly little to do with slicing, but they’re useful anyway.
Ability |
Description |
How to unlock |
|---|---|---|
| Slicing Kit | You can hack terminals | Unlocked by default |
| Sneak Shot | You deal more blaster damage when shooting unaware enemies | Complete one infiltration contract and defeat five distracted (by Nix!) enemies with your blaster |
| Concussive Smoke | Your smoke bombs stagger enemies | Unlock Smoke Bomb (from Selo), then find one ion capacitor charge, 10 durasteel, and four accu-accelerator |
| Sneaky Trap | Nix can turn alarm panels into booby traps that kill enemies who use them | Direct Nix to perform seven different actions and slice three different computers in three attempts or fewer |
| Lightfooted | Youâre harder to detect while walking or sprinting | Perform a stealth takedown on an Imperial officer, pick at least three locks, and complete one smuggling contract |
| Slice Kit Upgrade | You gain extra energy for your slicing kit, allowing you to activate Joker aids | Collect one code-breaker chip, one direct-energy circuit, and 8 chalcopyrite |
Lando the High Roller quest and abilities

Image: Massive Entertainment/Ubisoft via Polygon
You can unlock Lando pretty quickly after leaving Toshara the first time. Head to Akiva, and visit the cantina in Alcazar on Myrra’s southern side. The bartender tells you about an expert Sabacc player, which unlocks the “Taking Your Shot” intel. Follow it to a shady dive in Satrap’s Promenade, head downstairs, and speak with the bouncer. Bribe or bluff your way in.
Lando’s quest details
Lando’s only too happy to help, if you do him a favor first. Head to Kijimi, enter Crimson Dawn’s district there, and find their Sabacc parlor — a task that’s much easier if you’re on good terms with Crimson Dawn. Challenge the table to a game using their special chips, win, and collect Lando’s chip. Return to Akiva’s orbit — you’ll have to fly away from the planet for this next stage to trigger — and defeat the TIE Fighters that attack you. Now, travel to the quest marker in Akiva’s jungle and help Lando’s Rebel friends fend off several waves of Stormtroppers. Once that’s all done, you’ll unlock Lando’s skills.
Lando abilities and unlock requirements
Lando’s skills give you some handy boosts in battle and out.
Ability |
Description |
How to unlock |
|---|---|---|
| Plan A | You can draw two cards instead of one in Sabacc | Unlocked by default |
| Plan B | You can use the heavy plasma blaster configuration | Unlocked by default |
| Roll Maneuver | You can strafe in the Trailblazer | Defeat 10 enemies in space, find 10 containers in space, and dodge five incoming missiles |
| Shoot First | Your first blaster shot to start a battle deals extra damage | Cheat three times in Sabacc (and win), defeat two Sabacc high rollers, and defeat 10 enemies by firing from the hip |
| Ask Later | For a few seconds after drawing your blaster and firing from the hip, your shots build up small amounts of adrenaline | Details coming soon! |
| Just Improvise | After using Fast Talk or getting arrested, gain enough adrenaline to use an Adrenaline Rush attack | Maintain good or excellent reputation with three syndicates at once, and steal from two syndicate vaults |
Quint the Gunslinger quest and abilities

Image: Massive Entertainment/Ubisoft via Polygon
Quint is located on Tatooine but takes some time to get. Her intel, “The Gunslinger,” unlocks once you speak with the bartender at the Mos Eisley cantina, but if you follow the main story as it takes you to Mos Eisley, you can’t explore the cantina or talk to anyone inside until the lengthy quest ends.
Either way, follow the intel out to a Hutt outpost west of Wayfar. You’re looking for a datapad inside a small building outside the outpost proper. Roughly two dozen enemies or more will swarm you if your Hutt reputation is low and you get caught, so don’t linger. If it’s good or higher, though, you can just saunter into the building and pick up the datapad. It leads you back to Quint in Wayfar, and then her quest begins.
Quint’s quest details
Quint’s quest is short and straightforward. Her former Hutt friends are out for vengeance, and it’s up to you and Quint to keep everyone in town safe. You’ll face off against three waves of Hutt fighters before a final showdown against their leader, but you can make quick work of them all with Adrenaline Rush attacks and Kay’s Power Blaster module.
Quint abilities and unlock requirements
Quint’s skills are hyperfocused on blaster finesse, as befits Quint’s own reputation as a sharpshooter. They aren’t exactly essential, but they certainly make crowd control easier.
Ability |
Description |
How to unlock |
|---|---|---|
| Adrenaline Rush Mastery | You can mark two additional enemies with your Adrenaline Rush ability | Unlocked by default |
| Powered Recharge | You gain some adrenaline when performing âPerfect Coolingâ on an overheated blaster (if you have that blaster upgrade) | Pick three locks without failing and defeat 12 enemies with your blasterâs power module |
| Speeder Shot | Youâll automatically target speeder-mounted enemies with Adrenaline Rush when driving your speeder | Win three speeder races and land five headshots on speeder-mounted enemies |
| Resilient | Your health increases by one additional bar | Defeat 10 Imperial soldiers while rocking a wanted status of level three or higher (all 10 eliminations must happen before you lower or clear your wanted status) |
| The More | You can target one additional enemy with Adrenaline Rush | Defeat four enemies with a single Adrenaline Rush three separate times |
| The Merrier | You can shoot elite enemies twice with Adrenaline Rush, guaranteeing a kill | Unlock The More, then defeat three Deathtroopers in one encounter and defeat six enemies in a single Adrenaline Rush attack |
Teeka the Hotfixer quest and abilities
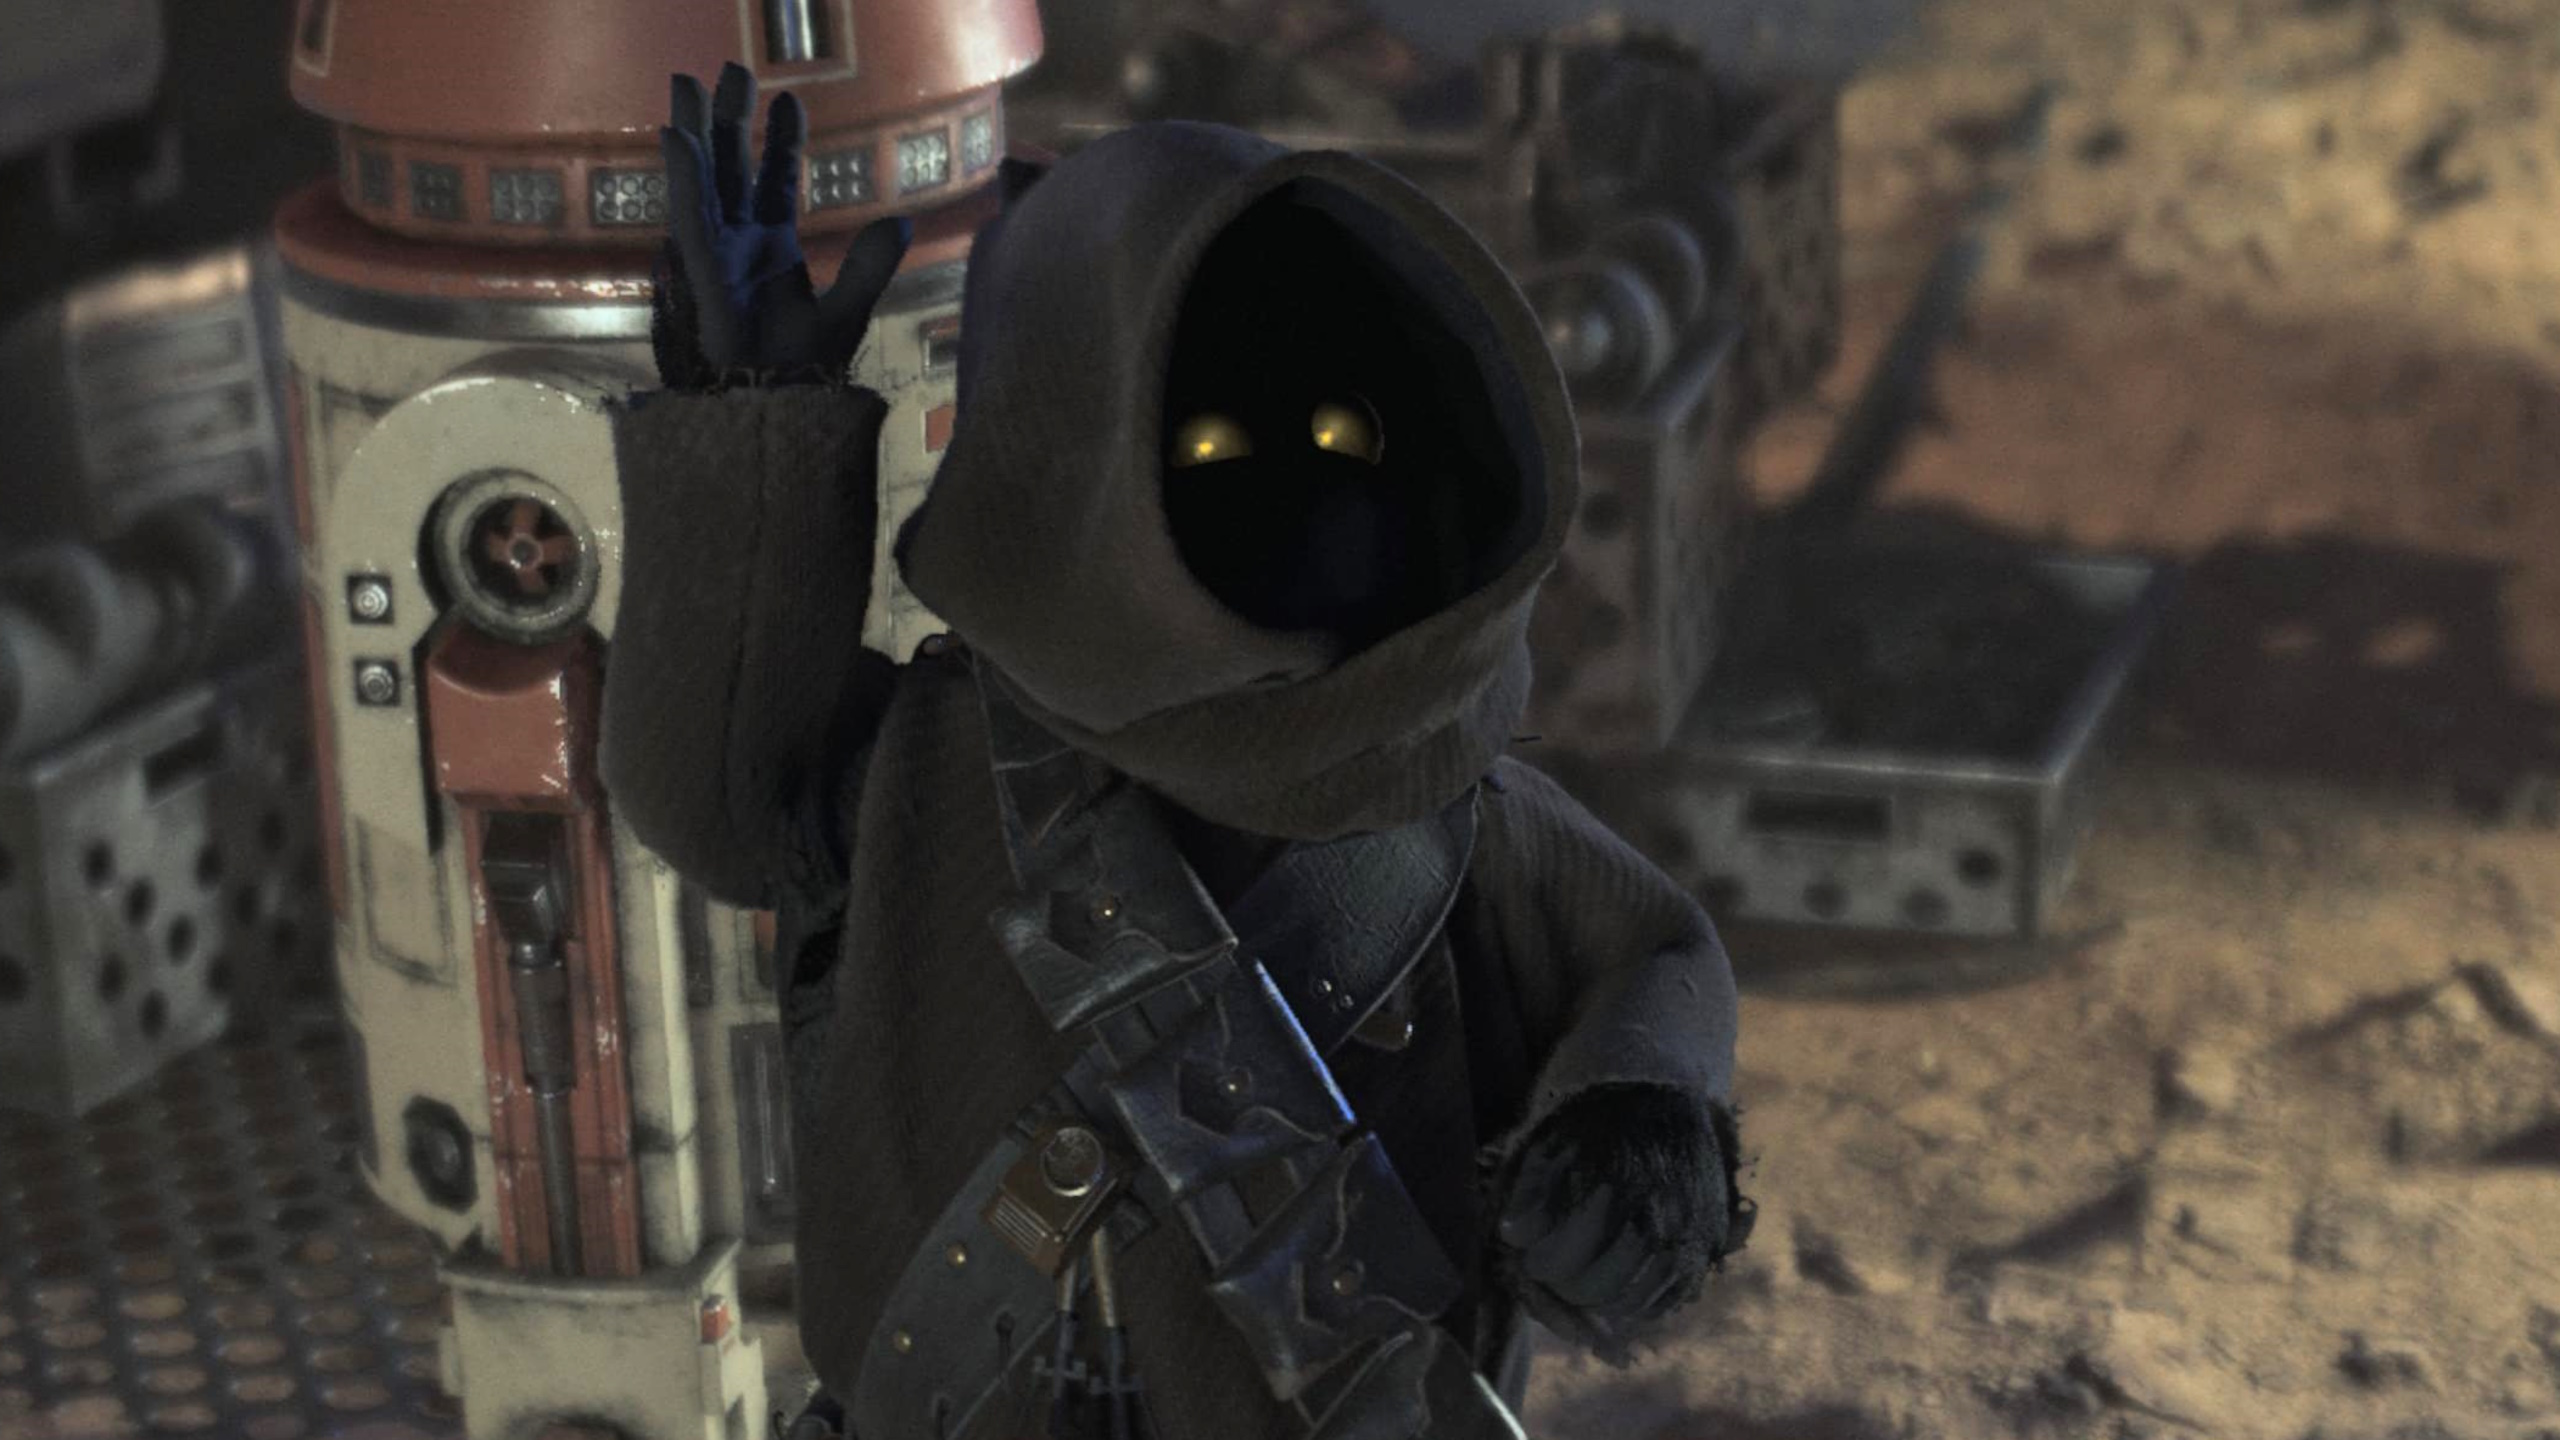
Image: Massive Entertainment/Ubisoft via Polygon
Teeka the Jawa shipwright makes her home on Tatooine, and her initial intel chain, “Buying a Turret,” should pop sometime after you encounter Hoss in Mos Eisley’s cantina. You’ll have to finish the main quest before you can follow it, though.
Once you can freely explore Tatooine again, chase up the lead in Bestine by speaking with a human repairing their landspeeder in the settlement’s junkyard. They have less-than-pleasant things to say about Teeka, but a lead is a lead. Track the intel to the South Jundland Wastes, avoiding Imperials as you go, and you’ll eventually find Teeka at her Sandcrawler.
Teeka’s quest details
Teeka has a gross little request that sends you to an unexpected location. It’s a fun trip, so we won’t spoil the details, but the process essentially involves defeating a few bandits, entering a cave-like location, and retrieving an item. More bandits appear once you leave the cave and swipe that item, so your next task is chasing the thief down. Catch them in their lair, defeat them and all the enemies who attack you, grab the item, and take it back to Teeka. This fight is much faster if you have Quint’s default skill. If not, make sure to use any heavy weaponry lying around to take your foes out more quickly and avoid getting overwhelmed.
Teeka abilities and unlock requirements
Teeka’s skills are a varied lot, including one essential ability if you play Sabacc and one that lowers merchant prices.
Ability |
Description |
How to unlock |
|---|---|---|
| Laser Turret | You can upgrade or replace the Trailblazerâs laser turrent | Unlocked by default |
| Improved Grenade | Your grenades deal 50 percent more damage and reach 50 percent further | Collect 20 durasteel, 1 compact detonite, and 6 accu-accelerators |
| Enhanced Bacta Injector | You recover more health instantly with bacta vials | Collect 6 helicyclic gears, 1 burst injector, and 15 transparisteel |
| Magnetic Dice | You can manipulate a dice roll when rolling for the Imposter card during a Sabacc game | Collect 6 direct energy coil, 1 LC3-skifter, and 15 silvian iron |
| Cheeky Explosion | Nix can cause an enemyâs grenade to explode | Feed Nix three different meals and have him steal three times |
| MâGasha | Merchants sell items for 10 percent less and pay 10 percent more for valuables | Find five Jawa traders and reach favored customer status with three merchants |
Teemin the Scavenger quest and abilities
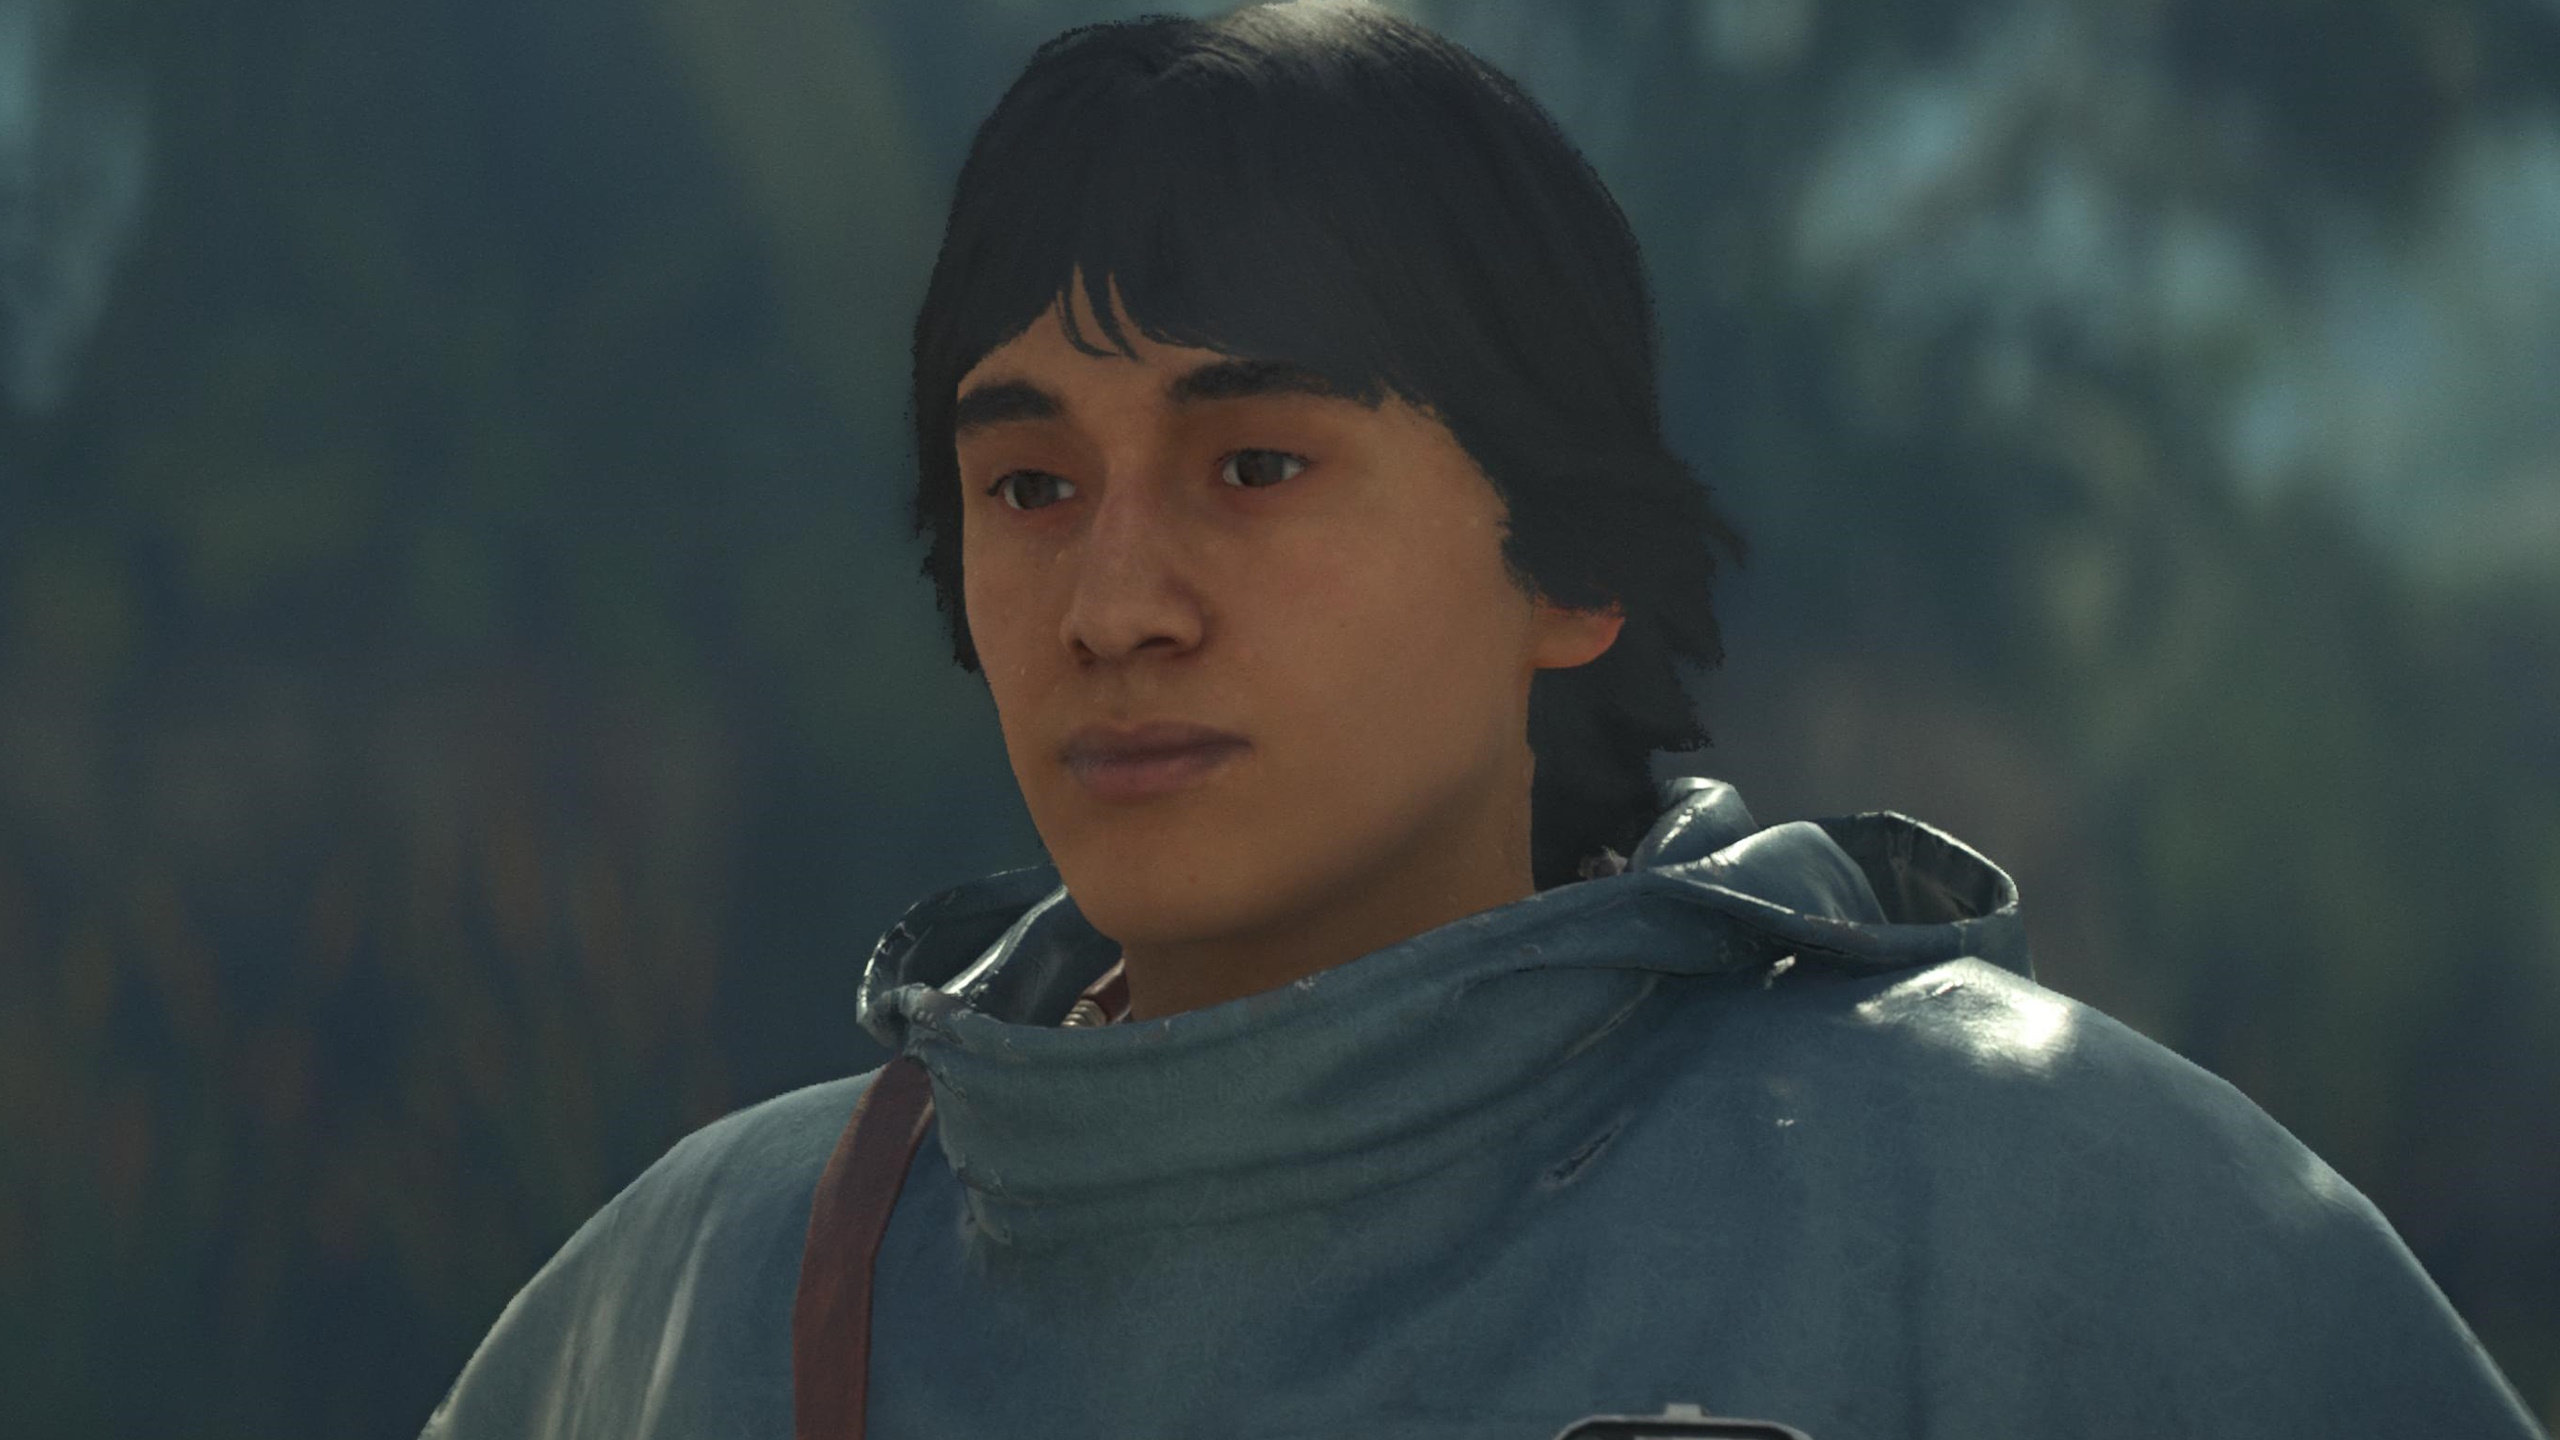
Image: Massive Entertainment/Ubisoft via Polygon
Teemin’s intel is linked with the main story on Akiva, and you can only find him after making contact with Gedeek and leaving the Imperial compound. The intel “The Scavenger” should pop once you leave the area, but if it doesn’t, a quick fast travel back to Myrra City should fix the issue. The intel takes you to Sashin Village, which is much easier to reach now thanks to the newly opened fast travel point, and directs you to Teemin’s aunt.
Teemin went scrapping a while back, but hasn’t returned, so you’re tapped to find him. Follow the intel to a remote homestead, where you’ll face some Hutt thugs who have Teemin trapped. If you break cover and fight in open combat instead of using stealth takedowns, you’ll lose a small amount of reputation with the Hutts. Speak with Teemin after the scrap ends to start his quest.
Teemin’s quest details
Teemin needs you to recover some Durasteel struts so he can properly apply a hydrorepulsor to your speeder. The Pykes took them to an island outpost, and lucky for you, the repulsor’s got just enough life in it for you to race out there and find them. You might want to unlock Selo’s speeder jump before you go, as it makes navigating the little islands a bit easier. The Pykes take off after you find the stash and relocate the struts to another outpost. Follow the intel there, then defeat the Pyke thugs guarding the goods. Despite fighting openly with them, it seems like this mission won’t reduce your standing with the Pykes. Head back to Teemin to finish the job.
[star-wars-outlaws-experts-skills-15]
Teemin abilities and unlock requirements
Teemin’s default skill lets you speed over water — only useful on Akiva, admittedly — and he’s also how you get the Electro-Shock Prod, which lets you take down elite enemies quickly.
Ability |
Description |
How to unlock |
|---|---|---|
| Hydrorepulsor | You can drive your speeder over deep water | Unlocked by default |
| Electro-Shock Prod | You can perform stealth takedowns on elite enemies | Collect five ion cells, 15 chalcopyrite, and one NL-02 charge emmitter |
| Ion Smoke Bomb | Your smoke bomb damages droids and disrupts electronic equipment | Unlock Smoke Bomb, then collect 10 ray accelerators, 25 durasteel, and 1 flux compressor |
| Assisted Scavenging | Nix may find additional loot when you open containers | Complete five merchant requests, find four smuggler caches, and gather 2,500 credits |
| Scavengerâs Footwear | You move more quickly while crouching | Collect 15 jarwhal fabric, 30 courseweave, and 1 sussura-weave fabric |
| Survivor | Your health increases by one additional bar | Defeat three Deathtroopers in a single encounter, and find the stranded merchant on Akiva |
Rooster the Mercenary quest and abilities
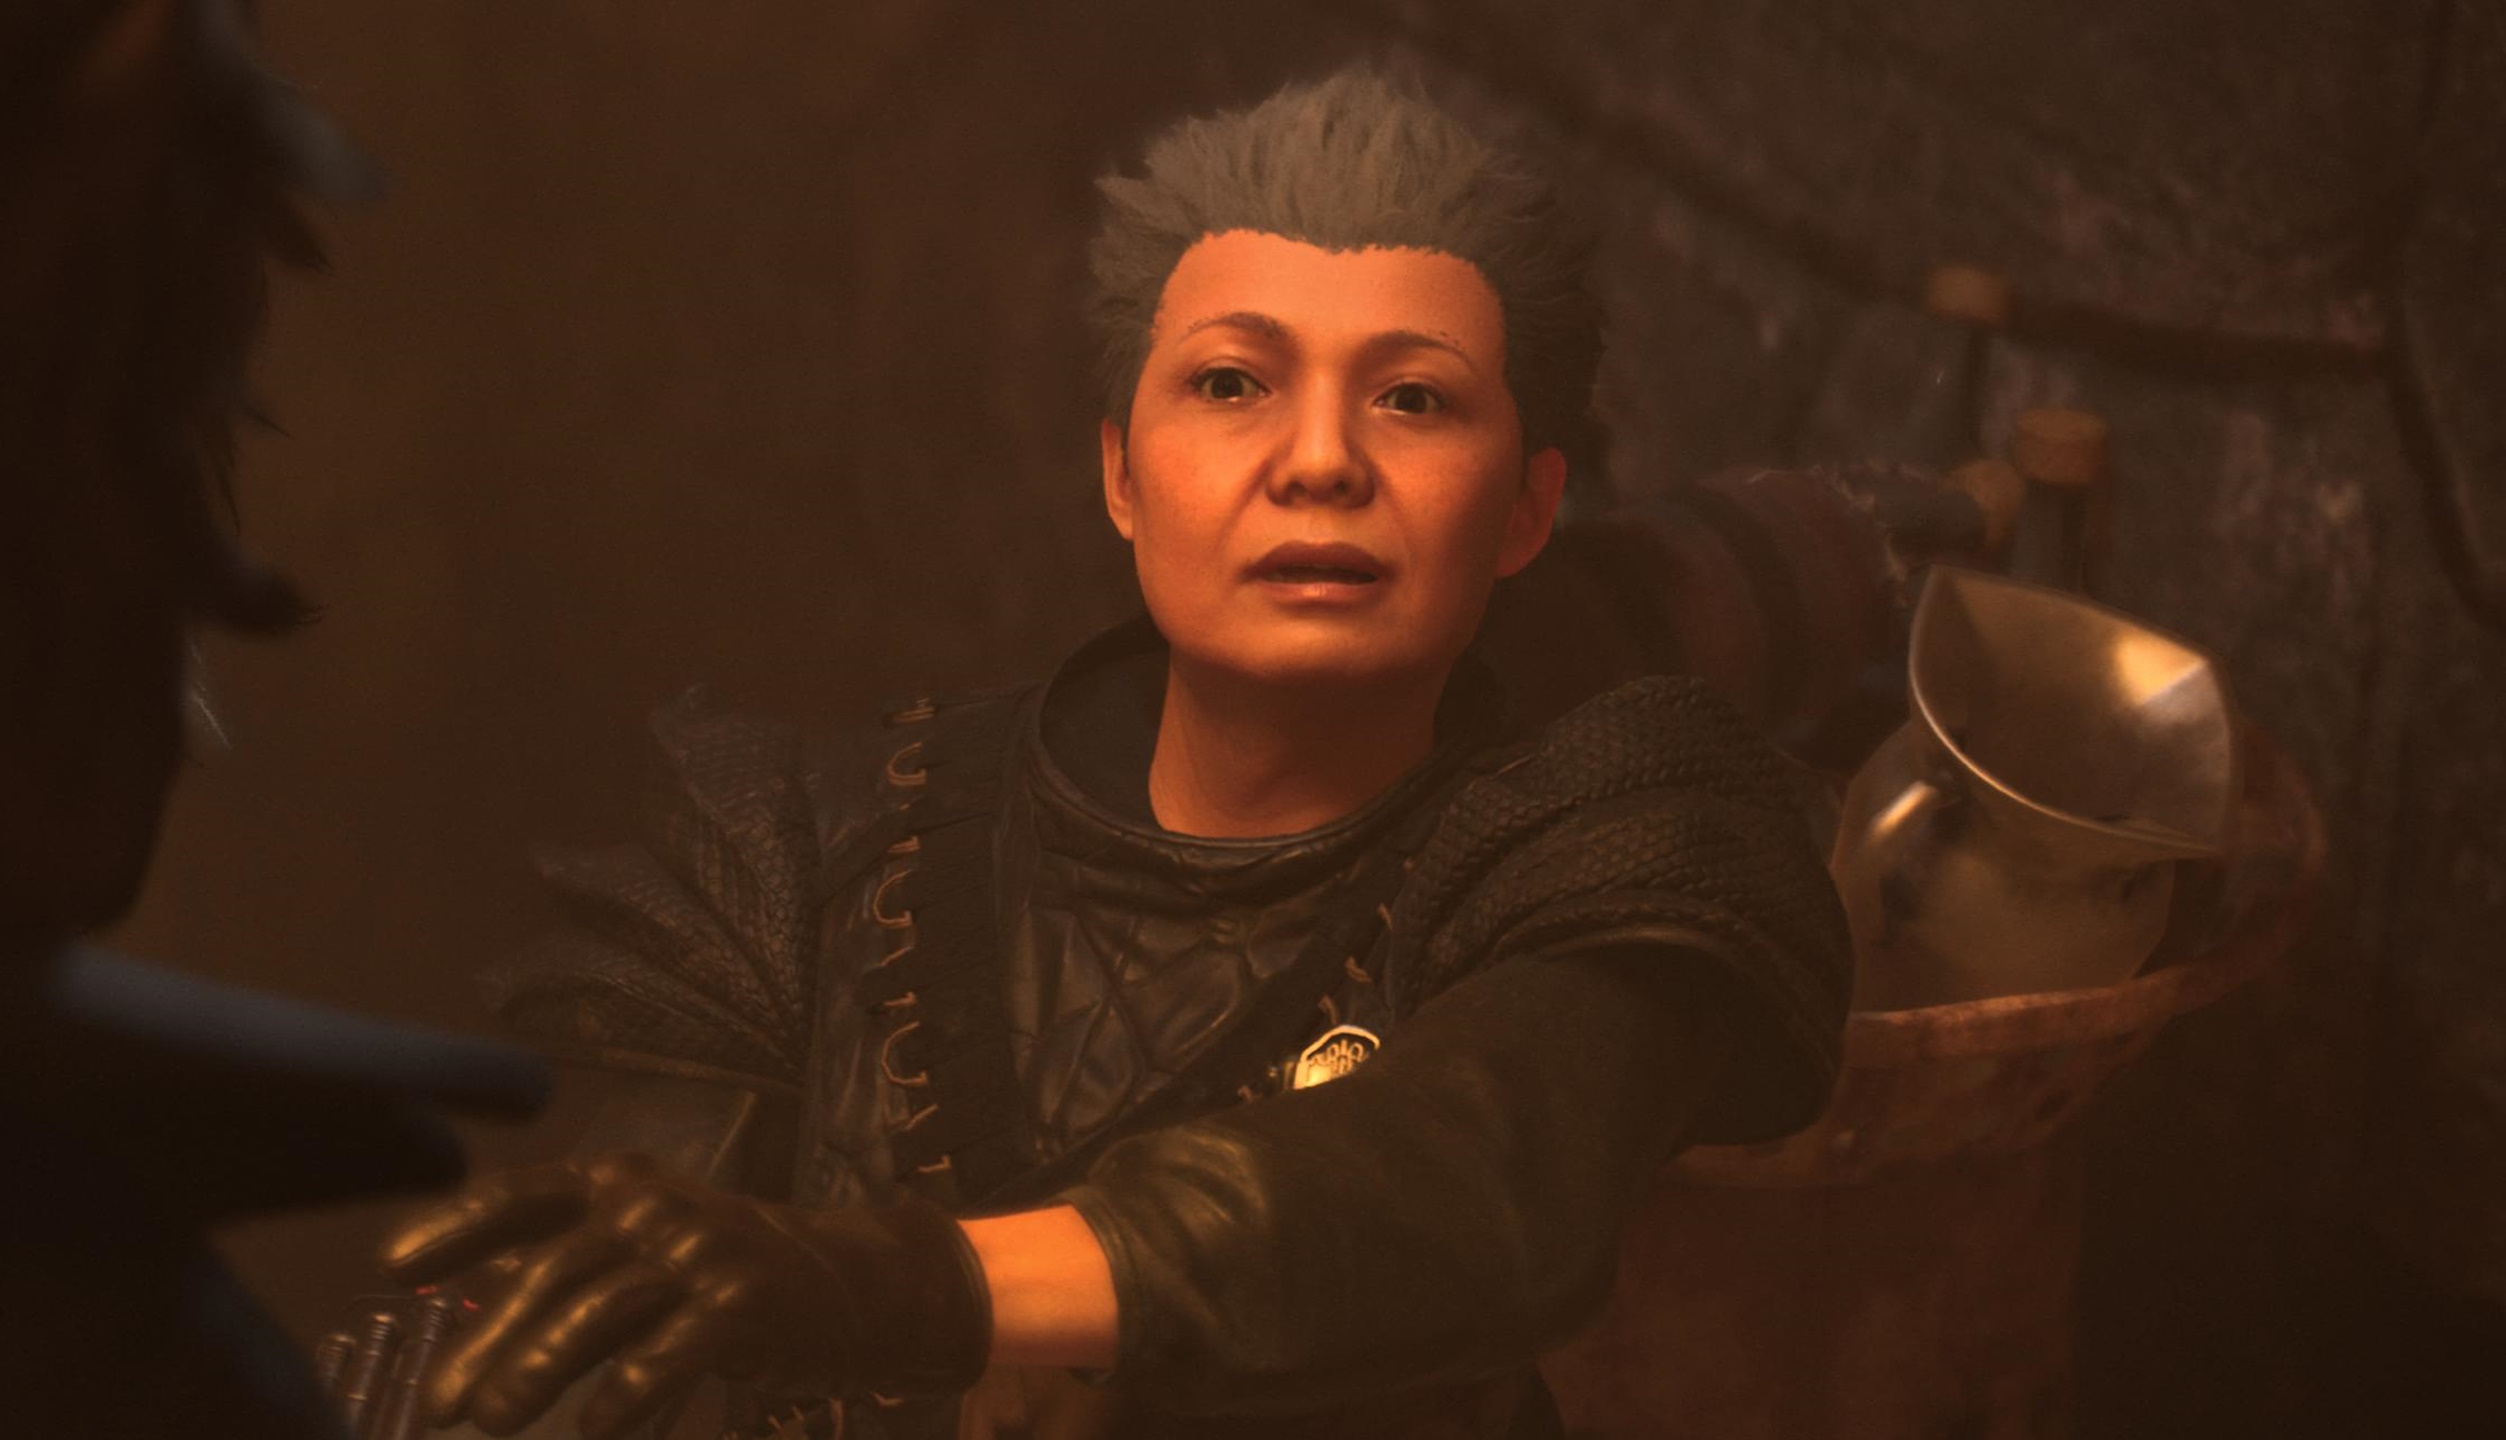
Image: Massive Entertainment/Ubisoft via Polygon
Rooster’s intel just sort of…appears on the map when you arrive on Kijimi. Head to the Domak Refectory in the city’s northwest quarter, and speak with the bartender. She’ll share information about Gedeek for the main quest if this is your first time there, and you may have to leave and come back before the option to speak to her again appears. The bartender directs you to Rooster at a table around the corner, who mentions a transmitter and some lost weapons floating in Kijimi’s asteroid belt.
Rooster’s quest details
Head back to the Trailblazer, and enter Kijimi’s orbit. The intel marker takes you to the western part of Kijimi space and asks you to search a large, open area for a single container. For us, it was located in the search area’s southern portion, though the placement may be randomized. Either way, a map marker appears once you get close, so you’ll know when you’re on the right track.
Rooster directs you to the North Jundland Wastes on Tatooine next, an area you can reach faster and more safely if you already unlocked Teeka’s Sandcrawler fast travel point. Find Rooster, fend off waves of Stormtroopers – you can use Kay’s blaster if you go through all the heavy weapons – and then speak with Rooster again. She remained stuck in a combat state the first time we tried this; if that happens to you, leave the quest area. The area reset that happens after the 10-second timer runs out should convince Rooster that the danger has passed.
Rooster abilities list and unlock requirements
Rooster has a varied set of skills, including one that increases Nix’s sensory range and even a few for the Trailblazer.
Ability |
Description |
How to unlock |
|---|---|---|
| Can I Try That? | You can use advanced Imperial weapon pickups, like the minigun from Roosterâs quest | Unlocked by default |
| I Like This Thing | All weapon pickups have 25% more ammo | Defeat five enemies using different weapons that arenât your blaster |
| Feelers Out | Doubles Nixâs sensory detection and movement range | Complete a thief contract undetected; have Nix âfetchâ a Bacta vial, a grenade, and a weapon; and make Nix jealous, which you can do by petting animals who arenât Nix |
| Sharpshooting | You get a big adrenaline boost after performing a headshot | Defeat eight enemies using a marksman rifle, complete an enforcer contract, and land 15 headshots |
| Loop Maneuver | You can perform a 180-degree turn in the Trailblazer | Defeat six TIE Interceptors and 12 enemy ships of any affiliation, and complete a space smuggler contract |
| Top Roll Maneuver | You can perform a 360 loop turn that positions the Trailblazer behind a current pursuer | Details coming soon! |
We’ll update soon with more experts.


